Welcome to Keyp 🍩
Keyp creates developer tools for game studios and app developers to improve the web3 onboarding experience.
We want to create a future where people have universal ownership and autonomy over their digital assets.
Example applications
We created a few example apps to help you get started:
- NextJS - kaching-app
- React - usekeyp-example-app-react
- ExpressJS - usekeyp-example-app-express
- RedwoodJS - usekeyp-example-app-redwood
1. Create a Developer Account
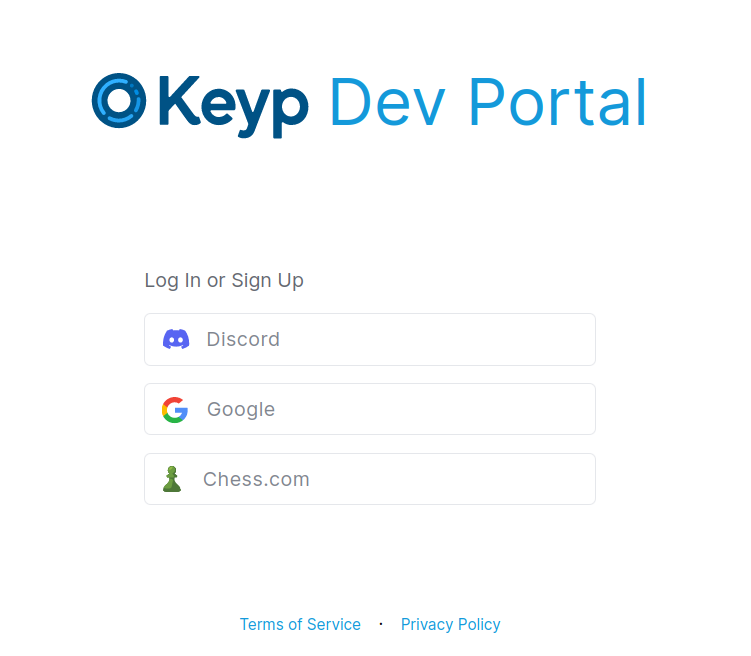
Create your free account at dev.usekeyp.com

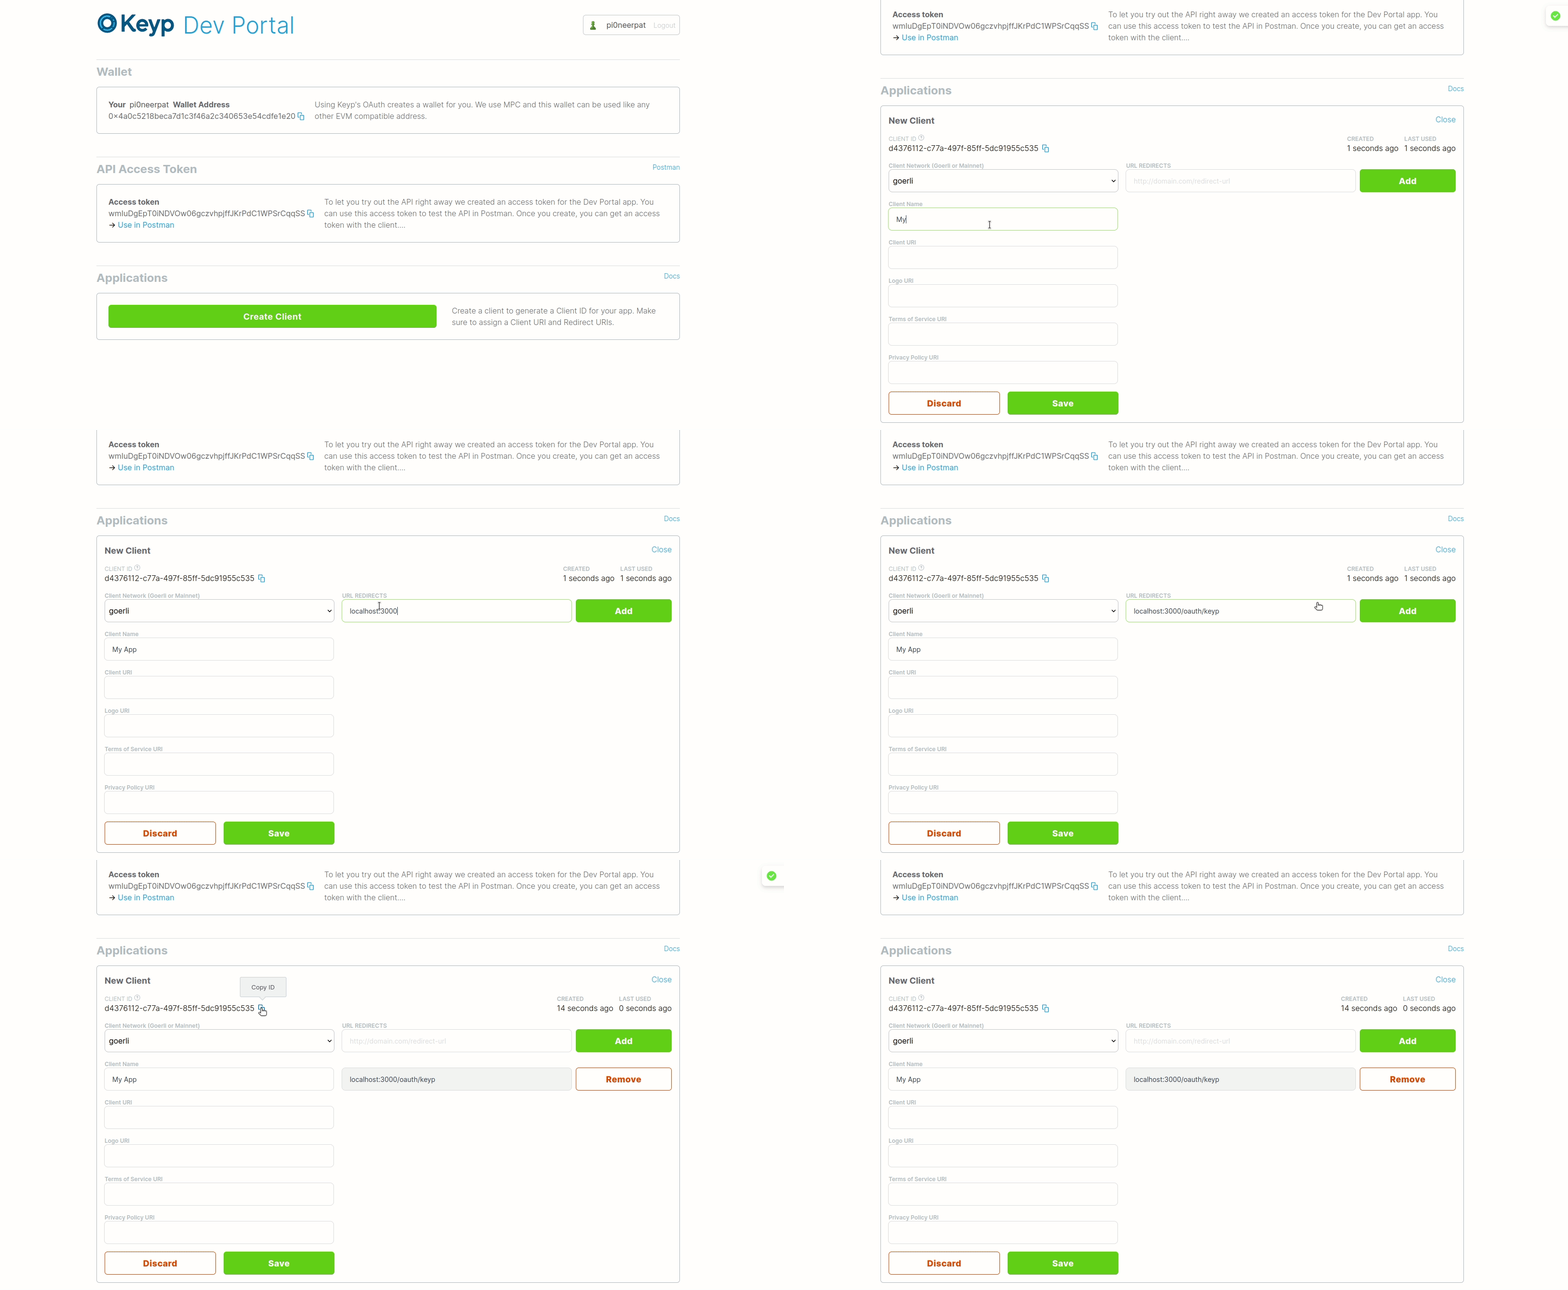
On your developer account page, select "Create Client", which will generate a new Client ID. You can create as many clients as you would like.

2. Authenticate with Keyp
Use the @usekeyp/js-sdk and @usekeyp/ui-kit to quickly set up authentication (link to SDK page)
Next.js
Install dependencies:
yarn add next-auth @usekeyp/js-sdk @usekeyp/ui-kit
Add authentication:
// pages/api/auth/[...nextauth].ts
import { KeypAuth } from "@usekeyp/js-sdk";
import NextAuth from "next-auth";

const NextAuthOptions = KeypAuth({
    clientId: process.env.KEYP_CLIENT_ID, // From dev portal
    secret: process.env.KEYP_COOKIE_SECRET, // Random string
    redirectUrl: "http://localhost:3000/api/auth/callback/keyp",
});

export default NextAuth(NextAuthOptions);
Create a login page: (from Next.js example app in usekeyp-js-sdk)
// pages/login.tsx
import React from "react";
import {
    Box, Flex,
    Heading,
    Stack,
    Text,
} from "@chakra-ui/react";
import { useSession } from "next-auth/react";
import { useRouter } from "next/router";
import { useEffect } from "react";
// @ts-ignore
import { LoginPortal } from "@usekeyp/ui-kit";
import { signInKeyp } from "@usekeyp/js-sdk";

const Login = () => {
    const session = useSession();
    const router = useRouter();

    useEffect(() => {
        if (session && session.status === "authenticated") {
            router.push("/");
        }
    }, [session, router]);

    const handleLoginClick = (provider: string) => {
        signInKeyp(provider);
    };

    return (
        <>
            <Box textAlign="center" fontFamily="sharpie" px="0.5rem">
                <Heading
                    as="h1"
                    color="pink"
                    fontSize={["5rem", "8rem"]}
                    fontWeight="extrabold"
                >
                    <Text fontFamily="sharpie">Kaching</Text>
                </Heading>

                <Box my={"2rem"}>
                    <Text textAlign="center" fontSize="5rem">
                        👋
                    </Text>
                </Box>
                <Flex
                    direction="column"
                    alignItems="center"
                    justifyContent="center"
                    m="auto"
                    textAlign="left"
                    px={[0, 0, "10rem", "20rem"]}
                >
                    <Stack
                        direction="column"
                        spacing={4}
                        textAlign="left"
                    >
                        <div className="justify-center">
                            <LoginPortal
                                providers={["GOOGLE", "DISCORD"]}
                                onClick={handleLoginClick}
                            />
                        </div>
                    </Stack>
                </Flex>
            </Box>
        </>
    );
};

export default Login;
Create your environment file .env:
# Your application Client ID from https://dev.usekeyp.com
KEYP_CLIENT_ID=
# Domain where you serve the app
NEXTAUTH_URL=http://localhost:3000
# Random string for NextAuth cookies. Generate using: openssl rand -base64 32
NEXTAUTH_SESSION_COOKIE_SECRET=
Update your redirect URLs in the Keyp Dev Portal. In this example, the url would be:
http://localhost:3000/api/auth/callback/keyp
Thats it! You can now authenticate users with Keyp. To view details about the user, grab the session using the next-auth hook.
import { useSession } from "next-auth/react";

const session = useSession();
const address = session && session.user.address;
Other Platforms
If you're working on another platform, there are many open-source libraries available. Follow instructions for OAuth2.0 using PKCE with OIDC.
Node, Express, JavaScript
Java
C++
Unity
Everything else (Swift, Ruby, Kotlin...)
- See list https://oauth.net/code/
3. Use the API
Use your App or the Postman Collection to make API calls
Axios
Grab the user's Access Token to access the API:
import axios from 'axios'
import { useSession } from "next-auth/react";

const TransferPage = () => {
    const session = useSession();

    const onClick = async () => {
        const data = {
            toUserUsername: "pi0neerpat#1337",
            toUserProviderType: "DISCORD",
            tokenAddress: '0x8f3Cf7ad23Cd3CaDbD9735AFf958023239c6A063',
            tokenType: 'ERC20',
            amount: '.01',
        }

        const ACCESS_TOKEN = session.user.accessToken
        const options = {
            headers: {
                'Content-Type': 'application/json',
                Authorization: `Bearer ${ACCESS_TOKEN}`,
            },
        }

        const res = await axios
            .post('https://api.usekeyp.com/v1/tokens/transfers', data, options)
            .then((response) => {
                console.log(response.data)
                return response.data
            })
            .catch((error) => {
                console.error(error)
            })
    }
    // ...
}
Postman Collection
Grab your own access token from the Dev Portal to use Postman.
- Keyp Public Workspace - Postman
- Applications and access tokens are network-specific, so in order to use other networks, besides polygon, you'll need to create your own application.

Learn more in Authentication